
Like a lot of dads, I started baking sourdough during lockdown. Back then, it was less about becoming a master baker and more about keeping the kids occupied and putting something on the table that wasn’t pasta for the fifth night in a row.
To my surprise, the habit stuck. The Joe Wicks workouts fizzled out after a fortnight, and the guitar I promised myself I’d learn is still gathering dust, but the bread kept coming. These days, making sourdough has become part of the weekly routine — somewhere between mowing the lawn and refereeing who gets the TV remote. I find it quite restorative.
The good news is, it isn’t as complicated as it looks. You don’t need specialist kit or a hipster streak a mile wide — just flour, water, and a bit of patience. And once you’ve got the hang of it, the smell of fresh bread filling the kitchen makes you feel like you’ve got at least one corner of family life under control.
It’s easy, it’s cheap, and it’s enjoyable. If that sounds good to you, here’s how to get started.
Step 1: Starting Your Starter
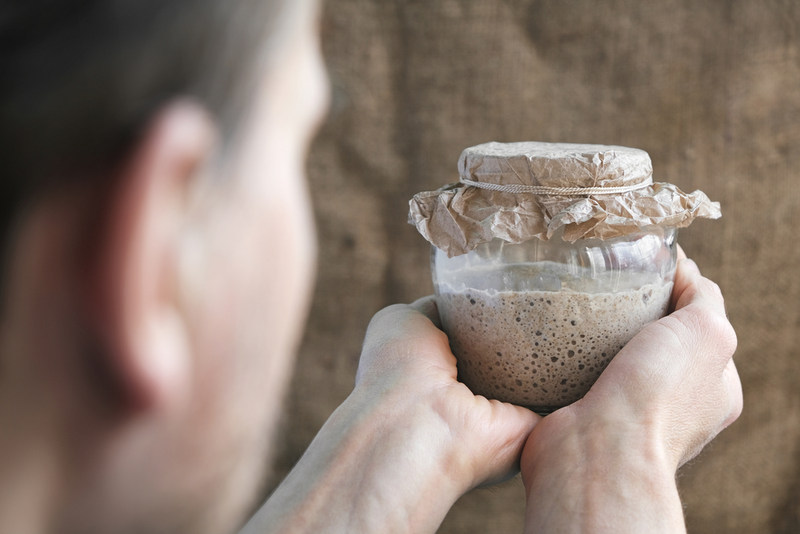
Your starter is the little jar of life that makes sourdough work. It’s nothing more than flour and water, left out so natural yeast can get to work. It takes about a week to get going.
- Day 1: Mix 100g strong white flour with 100ml water in a clean jar. Cover loosely.
- Day 2–6: Each day, tip half out and feed it with another 100g flour and 100ml water.
- Day 7: By now, you should see bubbles and smell something slightly fruity. That means you’re good to go.
My kids once spotted the starter bubbling away on the counter and announced, very seriously, that it looked like it was “breathing.” They pretended it was a family pet for a while and even gave it a name. To this day, they like to ask me how ‘Crumble’ is doing.
Step 2: Feeding Your Starter
Once it’s alive, you just need to keep it ticking over. Feed it once a day if it lives on the counter, or once a week if you keep it in the fridge.
If you forget, don’t panic. I’ve revived mine after a busy fortnight by just giving it a couple of feeds. It’s far more forgiving than houseplants (or real pets!) and requires less chasing than children.
Step 3: Mixing the Dough
When your starter is consistently rising and bubbling a few hours after feeding — usually after about a week of daily care — it’s ready to use. That’s your signal to stop treating it like a science experiment and actually turn it into bread. You’ll learn to spot the right time after a few tries.
For your first loaf, try this recipe:
- 500g strong white bread flour
- 300g water
- 100g active starter
- 10g salt
- Mix the flour and water first and let it rest for half an hour. This makes it easier to work with.
- Add the starter and salt and mix properly until everything is evenly combined. You don’t need to knead it hard, but it should look like one coherent dough rather than streaks of flour and paste.
- Then you move into the stretch and fold stage: every 30 minutes for the next 2–3 hours, give it a few quick folds to strengthen the dough. That just means pulling the dough up and folding it back over itself.
Step 4: Bulk Fermentation
Now leave it alone for four to six hours. The dough should double in size and feel lighter. How long it takes depends on the room — my kitchen in January might as well be the Arctic, while in July the dough practically tries to escape the bowl.
Step 5: Shaping and Proving
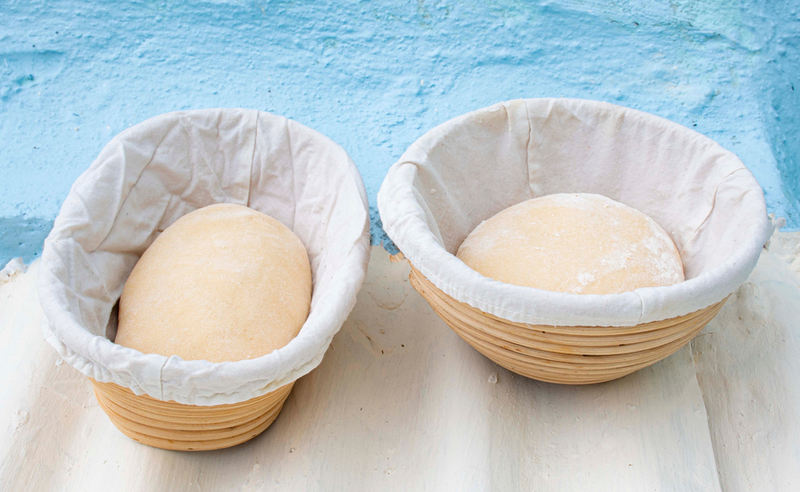
Tip the dough onto a floured surface, shape it into a ball, and pop it in a bowl lined with a floured tea towel (or a proving basket if you’ve got one, you nerd).
Then cover it and stick it in the fridge overnight. This not only develops flavour, but also means you don’t have to sit up waiting for it. Handy when the kids already keep you up late enough.
Step 6: Baking
The next day, preheat your oven to 230°C with a heavy casserole dish inside.
Then:
- Tip your dough into the hot pot.
- Slice the top with a sharp knife — it stops it splitting randomly and makes you look like you know what you’re doing.
- Bake for 20 minutes with the lid on, then 20–25 with it off.
Let it cool before slicing. Yes, that’s difficult when everyone in the house is circling the kitchen asking “Is it ready yet?”
Common Hiccups
I ran into all of these when I first started. I learned to tinker with timings etc. through trial and error. It’s part of the fun.
- Flat loaf? Needs a bit longer rising time. Still tastes good.
- Dense inside? Didn’t prove enough. Toast fixes everything.
- Burnt base? Put a tray underneath next time.
The great thing is, even a “failed” sourdough still makes better sandwiches than supermarket sliced.
Why it’s Worth It
Here’s why I think making your own sourdough is well worth learning to do.
- It slows you down. You can’t rush sourdough, and that’s not a bad thing.
- It’s family-friendly. My kids love dusting the counter with flour — and, less helpfully, the dog.
- It scratches the dad itch. Once you’ve nailed a basic loaf, you can experiment with seeds, different flours, or pizza bases. You’re providing, and it makes you feel good.
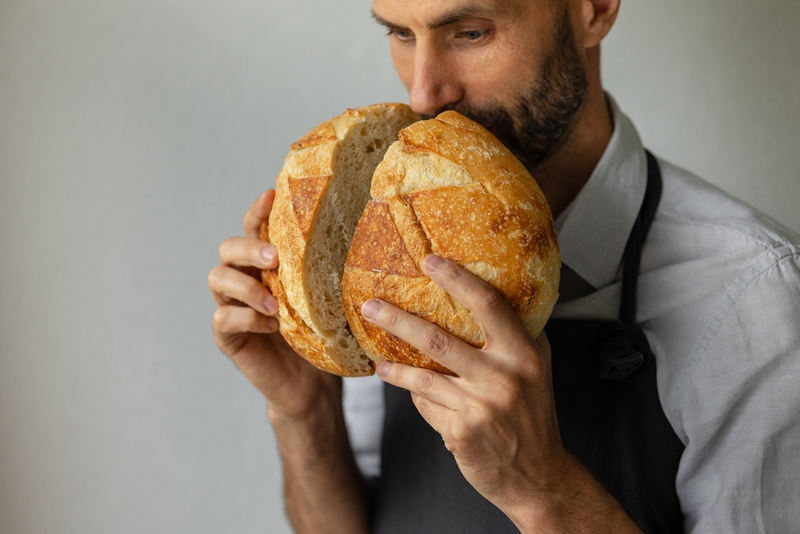
There’s real pride in pulling a crusty, golden loaf out of the oven. It feels like you’ve achieved something, which is more than I can say for my attempts at DIY.
Give it a Try
Sourdough has become part of the weekly rhythm in our house. The starter bubbles away, the loaves come out (mostly) round, and there’s always fresh bread to share. It’s not flashy, and it doesn’t need to be.
If you’re tempted to try, just go for it. Don’t overthink it, don’t worry about perfection, and definitely don’t forget which jar is the starter when you’re hunting for pancake batter.
Because in the end, it’s like fatherhood: you make mistakes, you learn, and sometimes, your little creations come out absolutely perfectly.